|
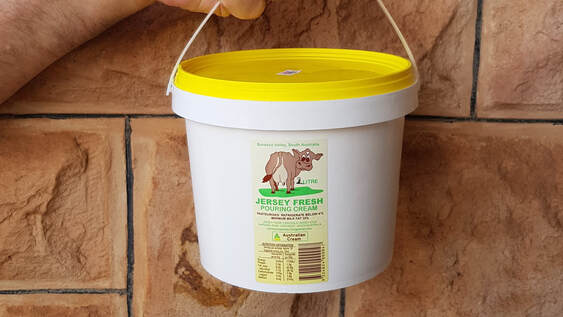
Our friends at Jersey Fresh put a call out on social media this week that they had some 2L buckets of their delicious pouring cream available. And as we're at home (working/schooling) Taylor and I have been looking for some interesting activities to tick the boxes of both being a learning tool but also interesting and useful for the family. So what could a better science project than making butter?! What you'll need The best thing about making butter is it is so simple you only need:
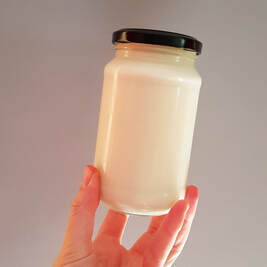
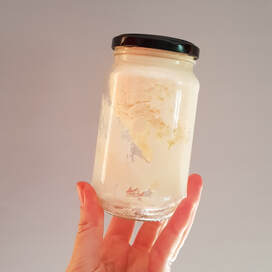
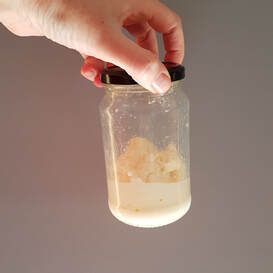
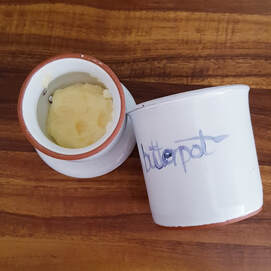
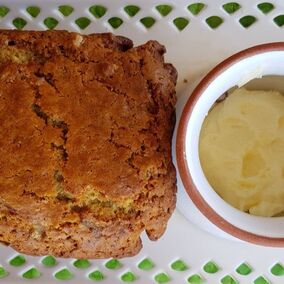
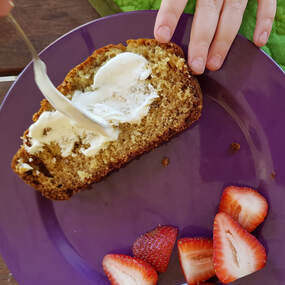
Notes: our jar is the size of a 200g dukkah jar - probably don't make your jar too big or it will be longer in the making. If you don't need 2L of cream then start with one of Jersey Fresh's little bottles of pouring cream which are in local supermarkets and if you don't have access to our local cream, then substitute with another brand. Making butter at home Let's start by saying it's not hard but it's not easy, if you know what I mean. By the time I was finished I certainly didn't need to do an arm workout! It will seem like it's a never ending task, but it's actually only about 15 minutes work. You just need to stick with it and keep on shaking. Taylor and I both started with a jar each but Taylor was content reaching the whipped cream stage. I wonder why?! The steps First off, you need to put cream in the jar. Only fill it half up, as you need room for the shaking to do its magic. Chuck in your marble (that you washed and sanitised), pop on the lid and start shaking! I would suggest putting on some great music and making a dance party of the task of shaking. It needs to be vigorous shaking - like when you go to the hardware shop to buy paint and watch the machine shake the paint tin to mix the tint with the base. After a few minutes you'll get what looks like whipped cream and seems to have stopped shaking: Just keep shaking Like that funny little ditty "just keep swimming, just keep swimming", you need to just keep shaking, just keep shaking at this stage. It also helps to take the marble out if it is easily sitting near the top of the jar when you open it to have a look at what is going on. Trust me, it's working. You just need to keep shaking. So you keep shaking and then all of a sudden, bam, in front of your eyes it begins to solidify! Now you can see all your hard work coming to fruition, so shake it like a Polaroid picture a little more. You will see that the solid is starting to separate into butter and butter milk (which is a happy bi-product in itself). This is when you know you're close. It's probably been about 10-15 minutes of shaking by now. So now it's time to pour off the butter milk into a cup for something delicious. We used ours in the making of our banana loaf - more about that in a minute. When you think that you've shaken all the buttermilk out of the butter pull the butter out of the jar and rinse it under running cold water. You need to rinse off the buttermilk to stop the butter from going rancid to quickly, so this step is important. Then pop it on some baking paper ready to transfer to the fridge for an hour or so. This is where you can choose to make it salted butter too. You'll find that if you would like to add salt, it will help the butter keep longer (salt being a great preservative) but if you're going to consume the butter within a couple of days of making it then you can choose to keep it unsalted if you prefer. And tada - you have homemade butter! Once it had chilled I chose to put our butter into our super cool butter pot from local artist Susanna of Really Useful Pots. Eating the homemade butter! So after making butter the question was, what are we going to test this butter (and Taylor's whipped cream) out on? The answer - banana loaf! We used our new Frantoio extra virgin olive oil and our trusty banana loaf recipe which you can download here. And in the place of milk we used the butter milk which we had separated out. Delicious!
|
Author
Mostly Jess, but sometimes another Darmody family member. Archives
August 2020
Categories
All
|

 RSS Feed